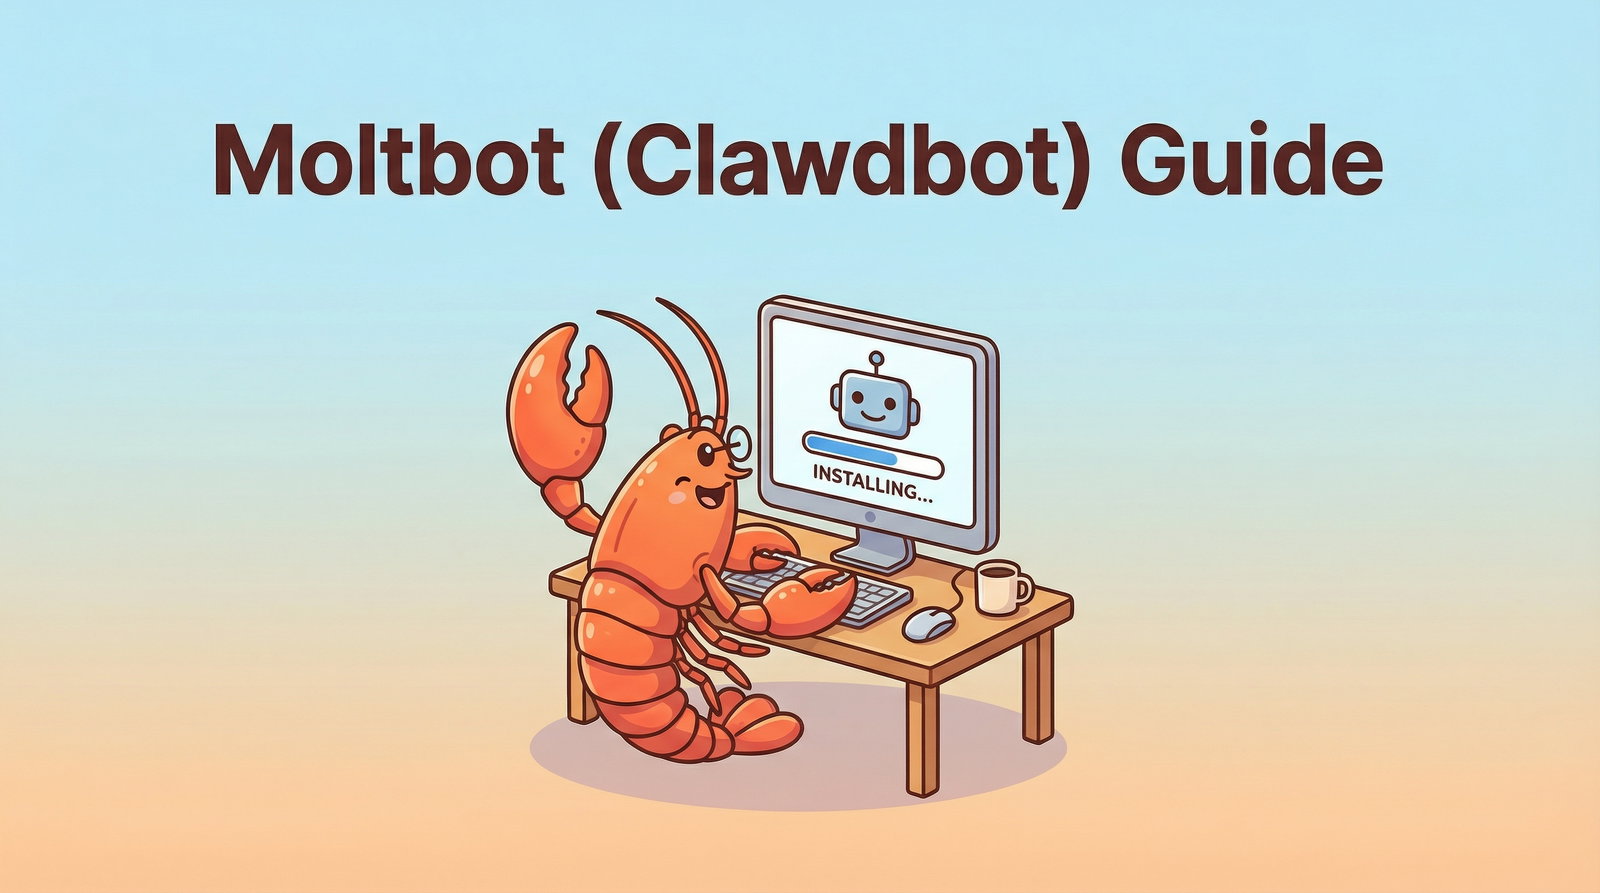
OpenClaw/Moltbot/Clawdbot Installation Guide & How To Use It
Try Text
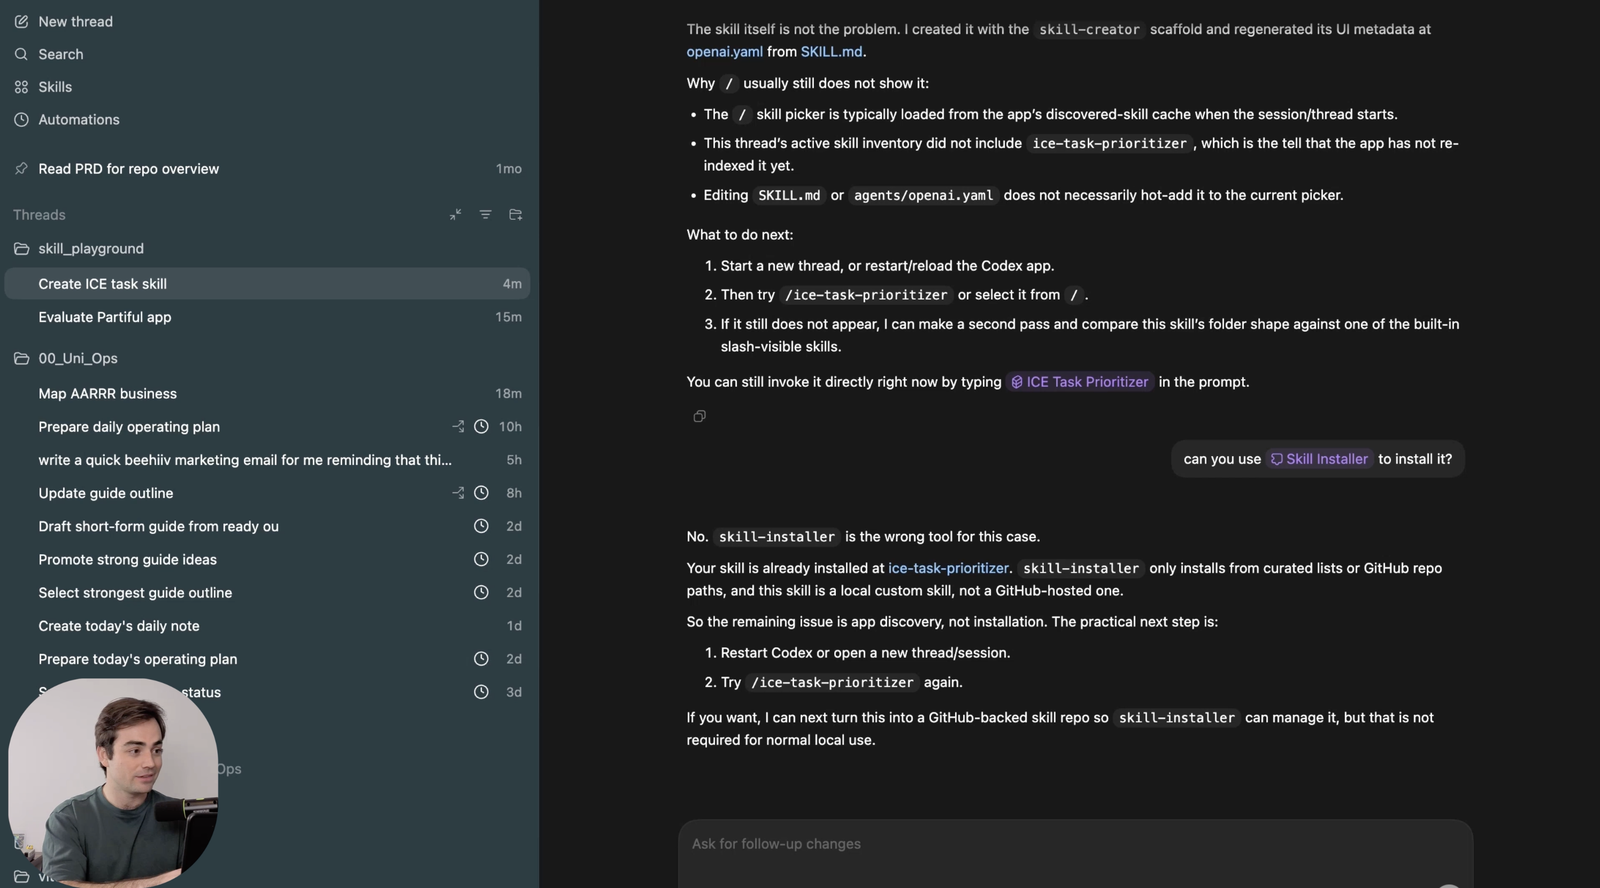
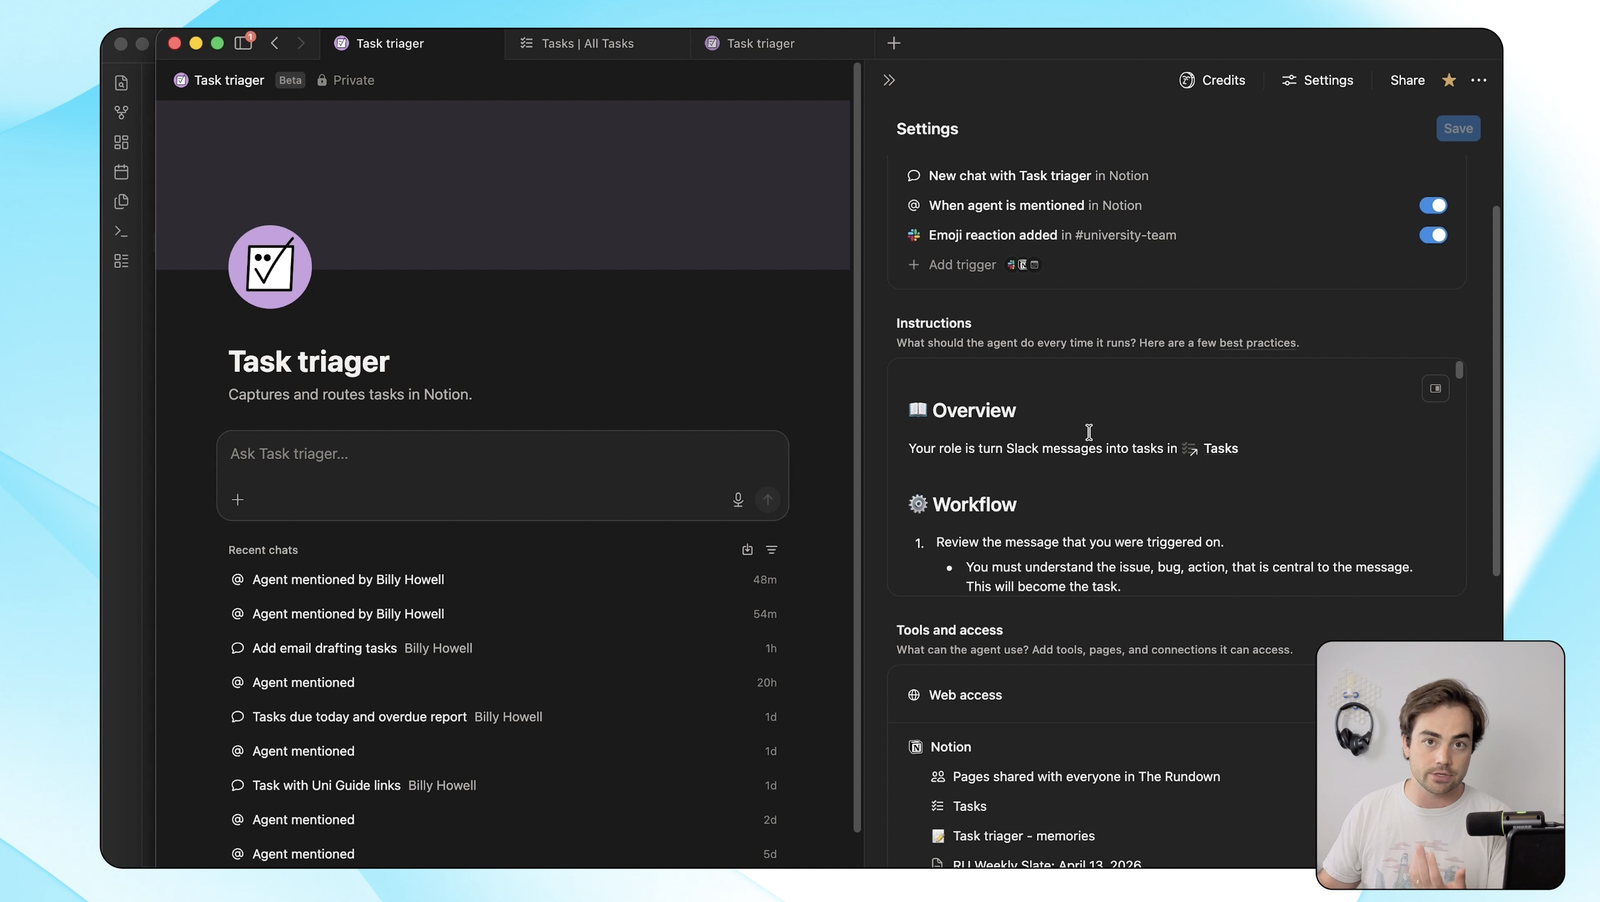
This guide teaches you how to install and set up your own autonomous agent using OpenClaw, formerly called Clawdbot and Moltbot. You will produce a working OpenClaw bot that can be configured with search, an AI provider, memory hooks, and Telegram messaging. The setup involves collecting API keys, installing the CLI, running onboarding, and pairing the bot with Telegram.

Save 15% on Thoughtly by joining The Runway University
Through our vast network of over 100 partnerships with major AI companies, we also offer University members free access or major discounts to the many popular AI tools along with AI certified courses, daily guides on AI tools and many more.
Tools

AI training for the future of work.
Get access to all our AI courses, hundreds of real-world AI use cases, live expert-led workshops, an exclusive network of AI early adopters, and more.